Table of Contents
Imagine this: you want to learn how to use WordPress and create your own website, but the fear of making mistakes on a live site is holding you back. This was me a few years ago. I wanted to experiment with new themes, plugins, and customization, but the notion of potentially destroying my live site was daunting.
That’s when I learned the power of installing WordPress on localhost. By creating a safe, private environment on my computer, I was able to explore, make mistakes, and learn without fear of repercussions. In this article, I’ll show you how to install WordPress on localhost, giving you the same freedom to explore and grow.
To get started, let’s first understand what a localhost is and why it’s beneficial for WordPress development.
What is Localhost?
“localhost” refers to a special address that points to your own computer. It acts as a
self-contained server environment, allowing you to run programs and applications like WordPress locally, on your personal machine. Your computer to communicate with itself using the IP address 127.0.0.1.
A localhost is essentially a server environment on your computer. It allows you to run web applications like WordPress without needing an internet connection.
Advantages of Install WordPress on Localhost
Here’s why “localhost” is incredibly useful:
- Offline Development and Testing
- Safe Experimentation
- Performance
- Cost-Effectiveness
- Privacy and Security:
- Learning and Experimentation
- Offline Development and Testing:
Develop and test website without an internet connection. - Safe Experimentation:
Test code changes and new features in a secure environment. - Performance:
Enjoy faster load times and immediate feedback during development. - Cost-Effectiveness:
No hosting fees during development and we can use free tools and software for setup.No need to purchase domain names or hosting services during the initial development phase. - Privacy and Security:
Work in a secure space, minimizing risks and unauthorized access. - Learning and Experimentation:
Ideal for beginners to learn and experiment with web development concepts.
Prerequisites
Before you begin, ensure you have the following:
- A computer with internet access.
- Basic understanding of how to use a computer.
- Administrative rights on your computer.
Choosing a Local Server Environment
To install WordPress locally, you need a local server environment. Here are some popular options:
XAMPP
XAMPP is a free tool with Apache, PHP, and Perl. It’s easy for beginners to use.
MAMP
MAMP is a similar package for Mac users, including Apache, MySQL, and PHP. It’s user-friendly and works on both macOS and Windows.
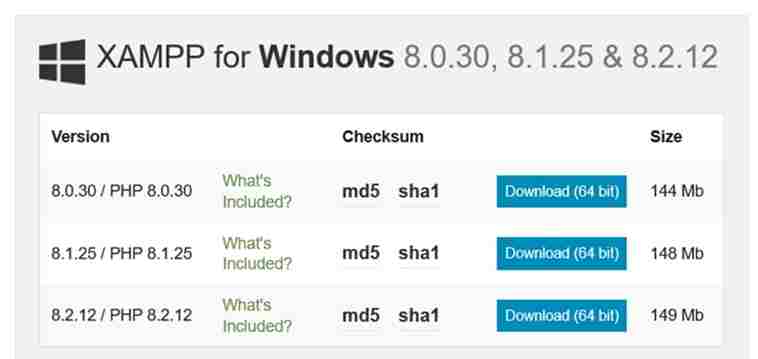
Step-by-Step Guide to Download and Install XAMPP:
- Visit the XAMPP website.
- Download the version that matches your operating system.
- Run the installer and follow the instructions on the screen.

The installation process is similar for Linux and macOS. Just be sure to download the XAMPP version compatible with your specific operating system.
Setting Up XAMPP
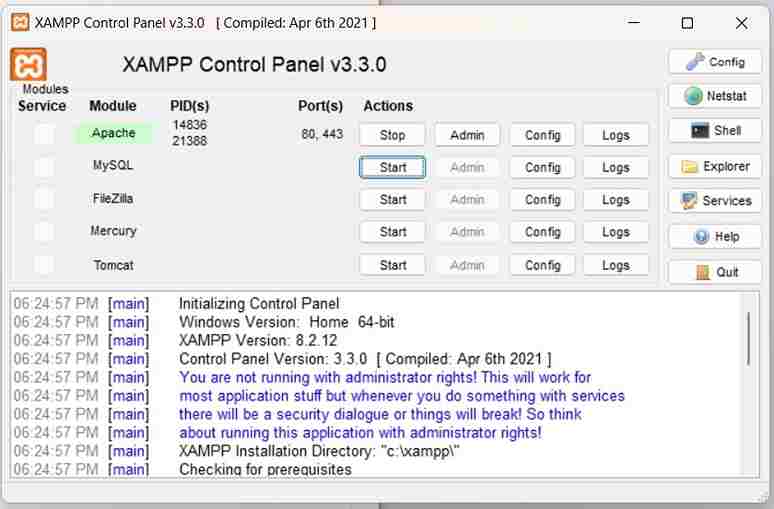
- Open the XAMPP Control Panel.
- Start the Apache and MySQL modules.

Downloading WordPress
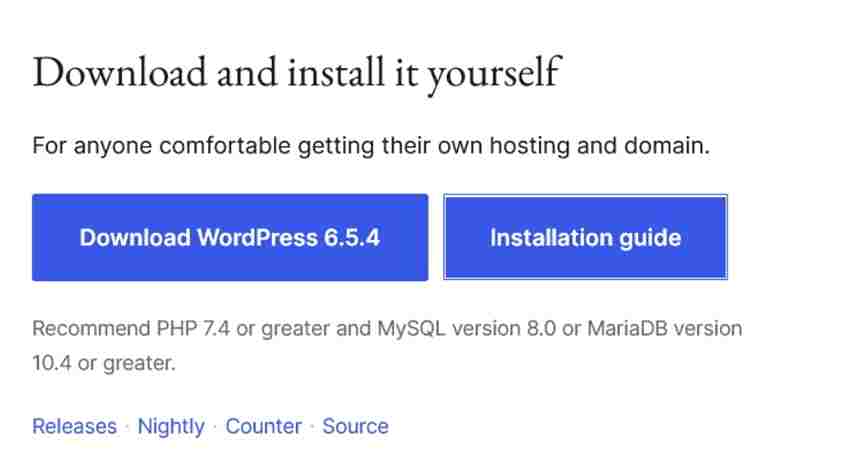
- Visit the WordPress website.
- Download the latest version of WordPress.

Creating a Database for WordPress
- Open your browser and go to http://localhost/phpmyadmin.
- Click on “New” to create a new database.
- Name your database (e.g., wordpress).

Installing WordPress on XAMPP
- Extract the WordPress zip file.
- Move the WordPress folder to C:\xampp\htdocs.
- Open your browser and go to http://localhost/wordpress.
Configuring WordPress
- Select your language.
- Click “Let’s go!”
- Enter your database details:
- Database Name: wordpress
- Username: root
- Password: (leave blank)
- Database Host: localhost
- Table Prefix: wp_
- Run the installation.
Testing Your Local WordPress Site
- Open your browser and visit http://localhost/wordpress.
- You will see the WordPress setup page.
- Fill in your site information and click “Install WordPress”.

